
Step:1) Connecting to the RDBMS (Oracle 10g XE)

Step:2) Connecting to the RDBMS (Oracle 10g XE)

Step:3) Creating the RDBMS Schema/User (Oracle 10g XE) for the Master Repository
i.On the Oracle Database Express Edition Home screen, select SQL Commands > Enter Command from the SQL drop-down list.

Create the schemas by executing the following SQL commands:
create user
SQL> create user bispmaster identified by password;
SQL> grant dba,connect,create session to bispmaster;
Step:4) Creating the ODI Master Repository


In the URL field, enter the following URL: jdbc:oracle:thin:@bispcognos:1521:xe, and then enter the User as bispmaster and Password as password(This is in our condition). In the Technology field, select Oracle. Click the Test Connection button and verify successful connection. Click Next. Click OK on Master Repository Creation Wizard screen.


The SQL command is executed in the command window. If the Master repository creation is successful, you will see the following message. Click OK. The ODI Master repository is now created.

Step:5) Connecting to the ODI Master Repository

Configure Repository Connections with the parameters provided in the following screen. Click the Test button. Verify successful connection and click OK. Click OK to save the connection.

Select the newly created repository connection (Master Repository) from the drop-down list. Click OK. The ODI Topology Manager starts.

A relational schema must be created for each repository. The following steps walk you through creating the relational schema for the ODI Work repository.
Step:1)Connecting to the RDBMS
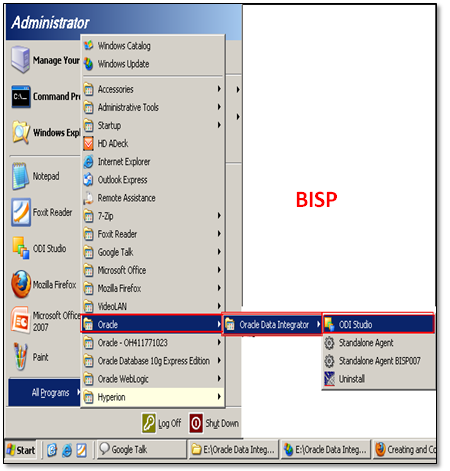
If not opened, open the Oracle XE Database Home page: Start > All Programs > Oracle Database 10g Express Edition > Go to Database Home page.

The Login screen appears. Log in to Oracle XE Database as system. The default password is password. Click Login.

Step:2) Creating the RDBMS Schema/User (Oracle 10g XE) for the Work Repository
On the Oracle Database Express Edition Home screen, select SQL Commands > Enter Command from the SQL drop-down list.

Create the schemas by executing the following SQL commands:
create user
SQL> create user bispwork identified by password;
SQL> grant dba,connect,create session to bispwork;
Step:3) Creating the ODI Work Repository
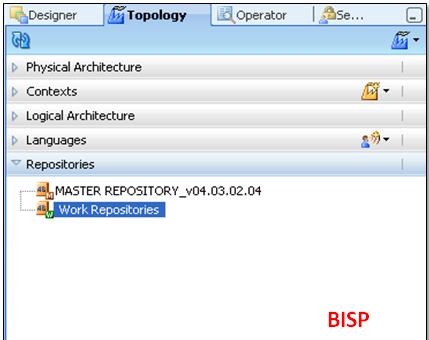
In ODI, click the Topology Navigator tab and then click to the Repositories panel. Right-click the Work Repositories node and select New Work Repository. The Create Work Repository Wizard opens.
In the screen that follows, enter the parameters shown in the following screen. Click the Test button. Verify successful connection and click OK. Click Next.

In the Create Work Repository Login window, click Yes. Enter the Login name: WORK_REPO as shown on the screenshot. Click OK. Verify that the newly created Work repository is now in the work repositories tree view


Now you disconnect from the Master repository and connect to the Work repository. Click ODI menu and select Disconnect "Master Repository".

Click Connect to Repository. Select “WORK_REPO” from the Login Name drop-down list. Enter Password: SUNOPSIS. Click OK. Click the Designer tab. The following ODI Designer screen appears.


Done !
Cool thanks
ReplyDelete